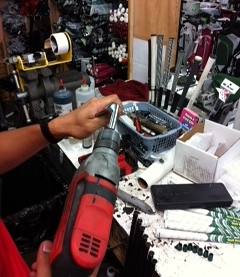
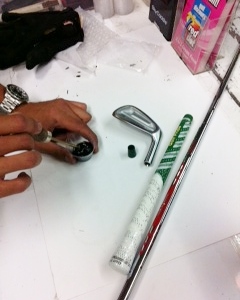
After Stage 1 was completed with our Project Miura Build, Stage 2 began with the test fitting of the components. Since the Miura hosels are so tight, the clubmaker used a hosel honing brush drill bit to bevel out the hosels. After, the shafts were able to fit securely into the hosels.
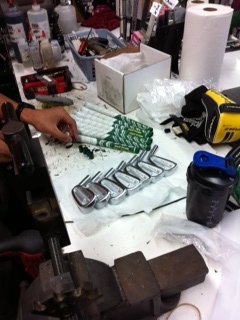
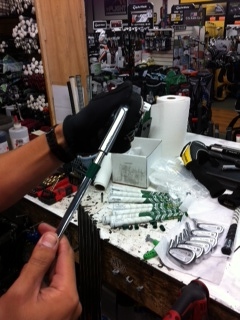
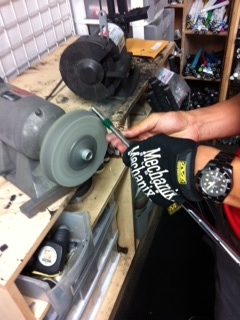
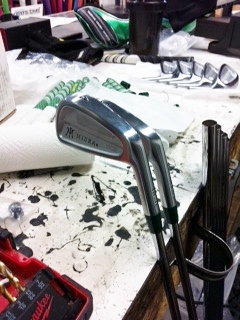
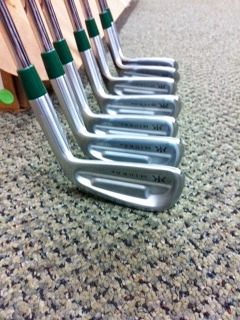
Once completed, the next step was to abrade the shaft tips. Since they are taper tip, no tip cutting was necessary. Once the tip abrasion was completed, the clubmaker then mixed the epoxy preparing to install the ferrules onto the shafts. After sliding the ferrule up the shaft, the epoxy was applied to the shaft and inserted into the hosel. After all 7 irons were epoxied, the irons were left to dry for overnight.
The next blog will include Lie angle adjustment, initial assembly cleanup, measure and cut the shaft, then grip.
Here is a LINK to our MIURA: http://www.fairwaygolfusa.com/japan/miura-golf-clubs.html
